
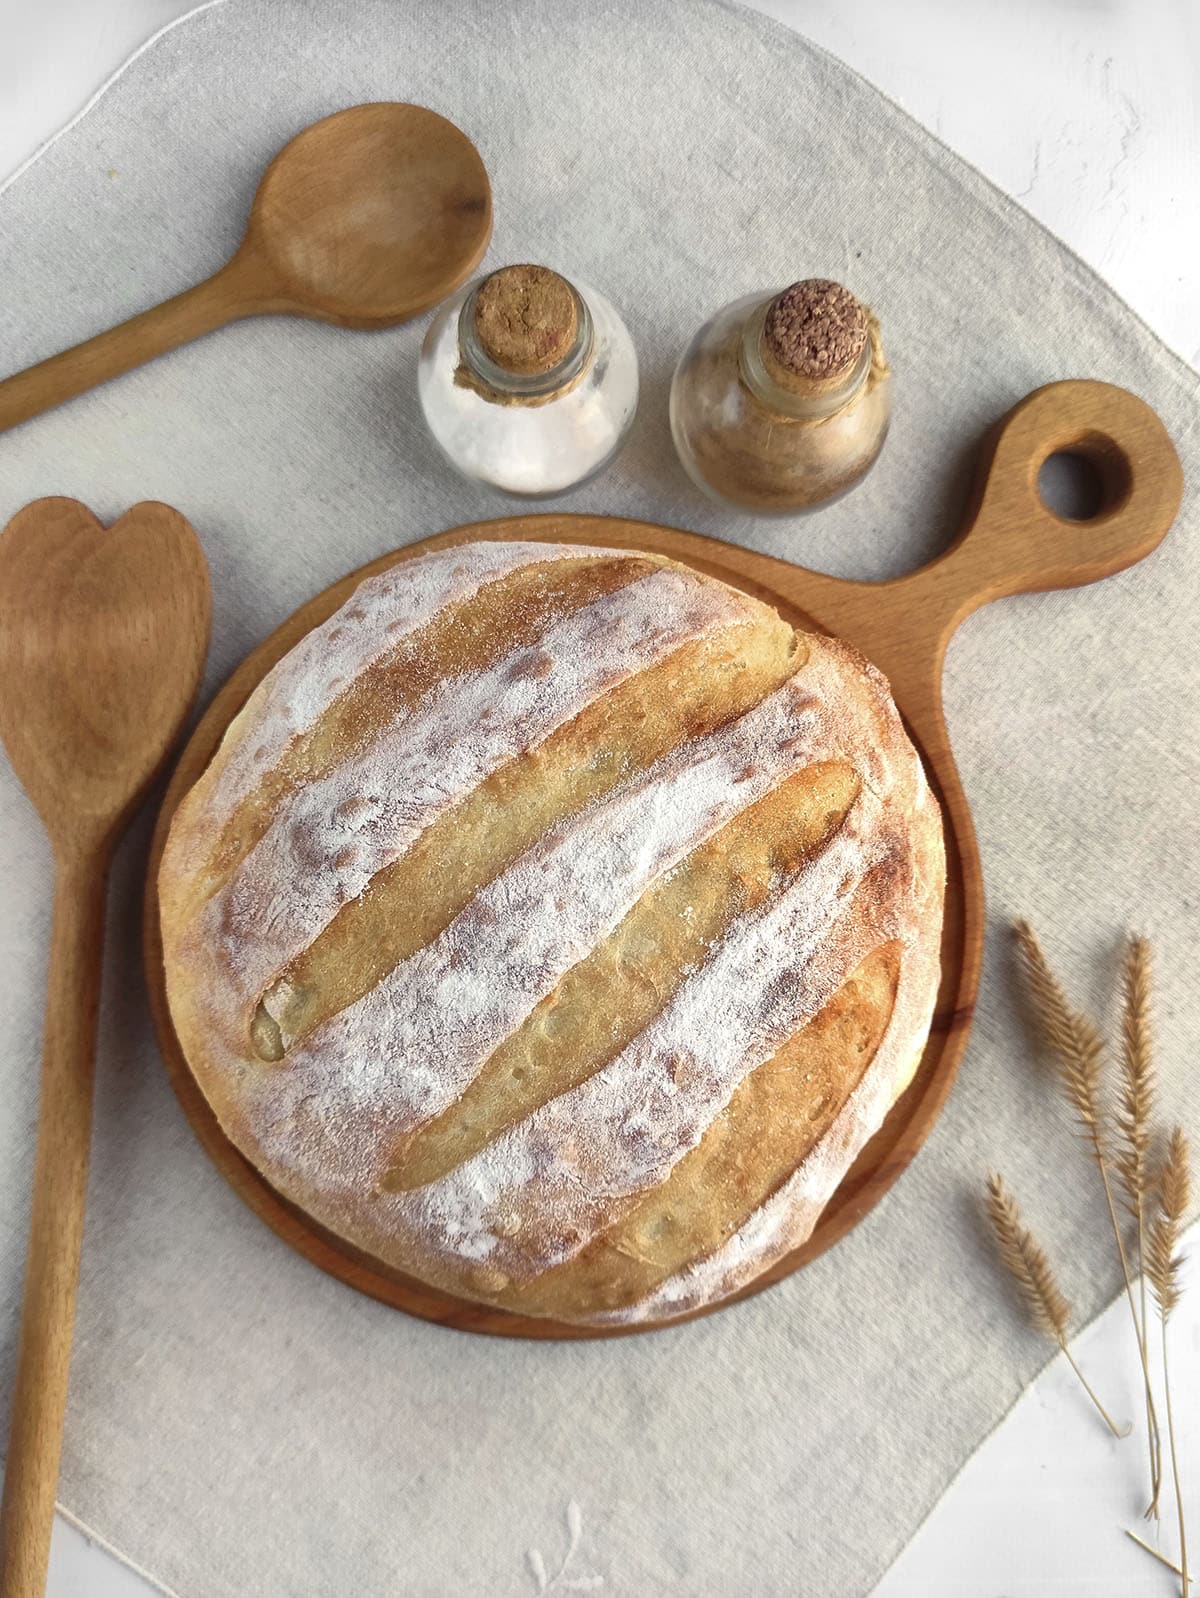
3 Ingredient Bread (Rustic and Delicious!)
This post may contain affiliate links. If you make a purchase after clicking a link, I may earn a small commission AT NO COST TO YOU. As an Amazon Affiliate, I earn from qualifying purchases.
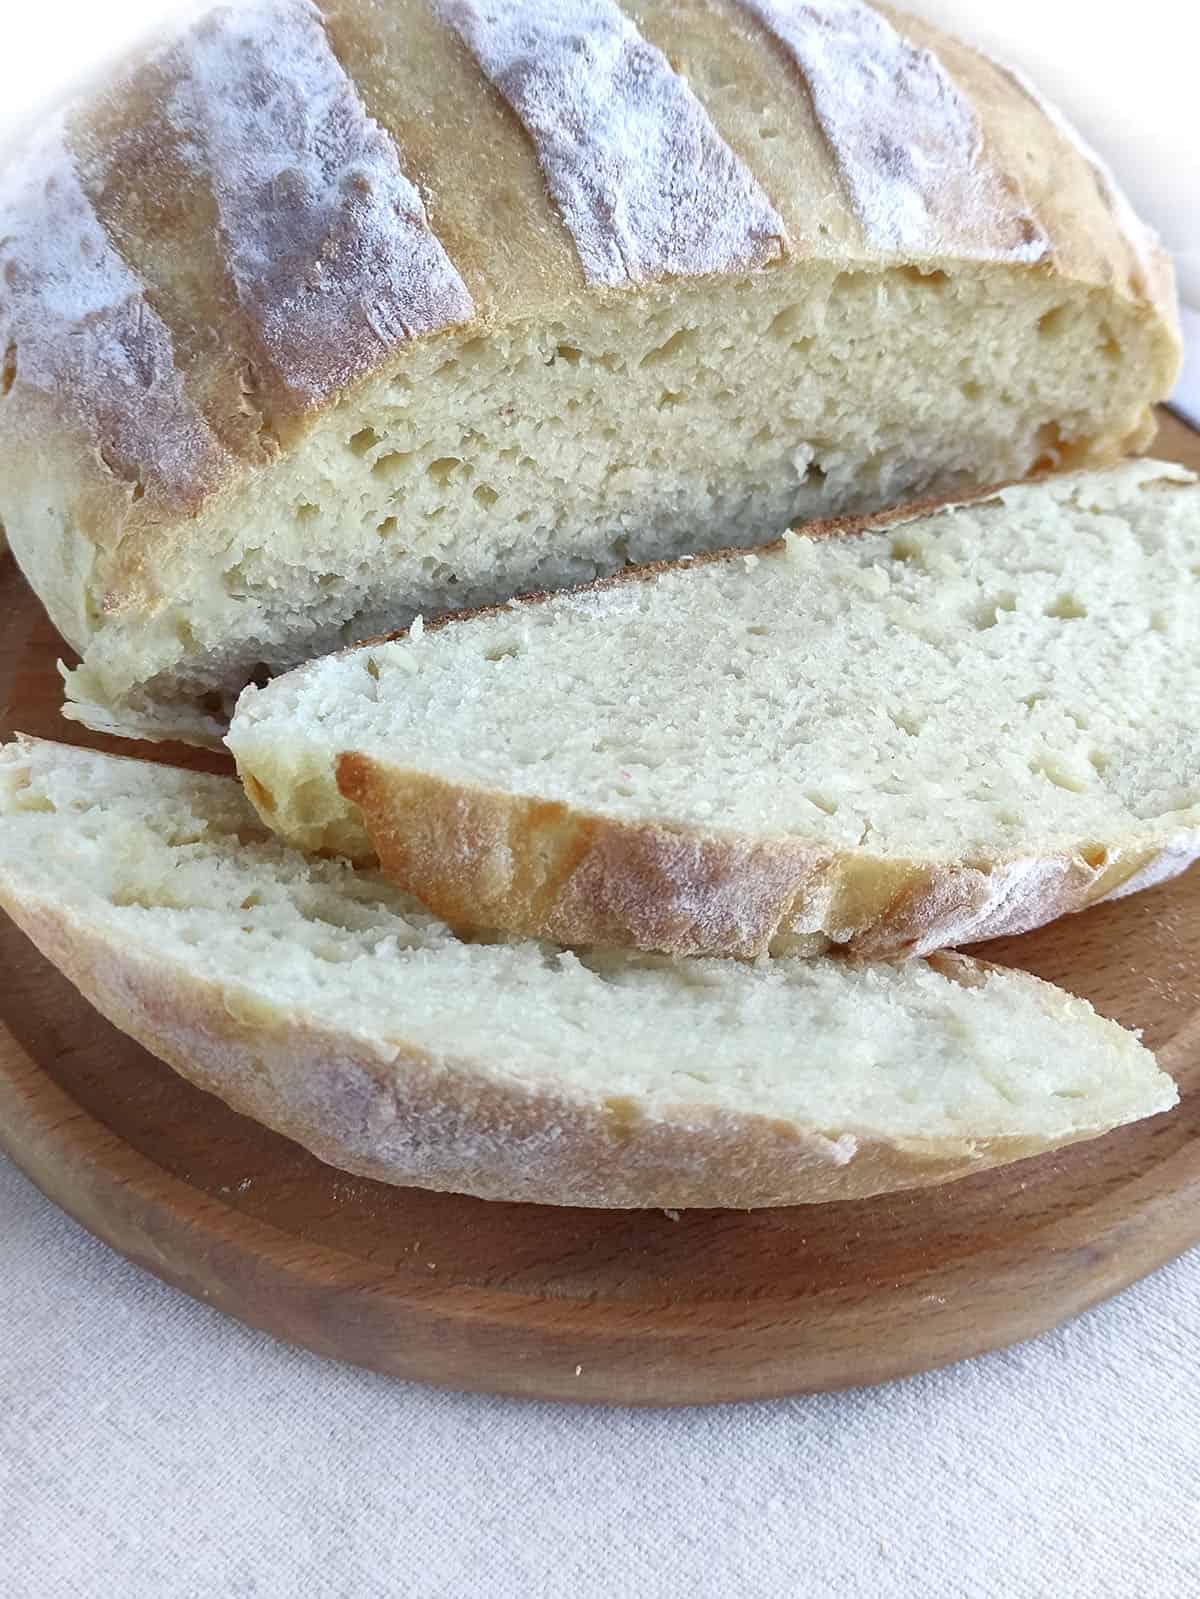
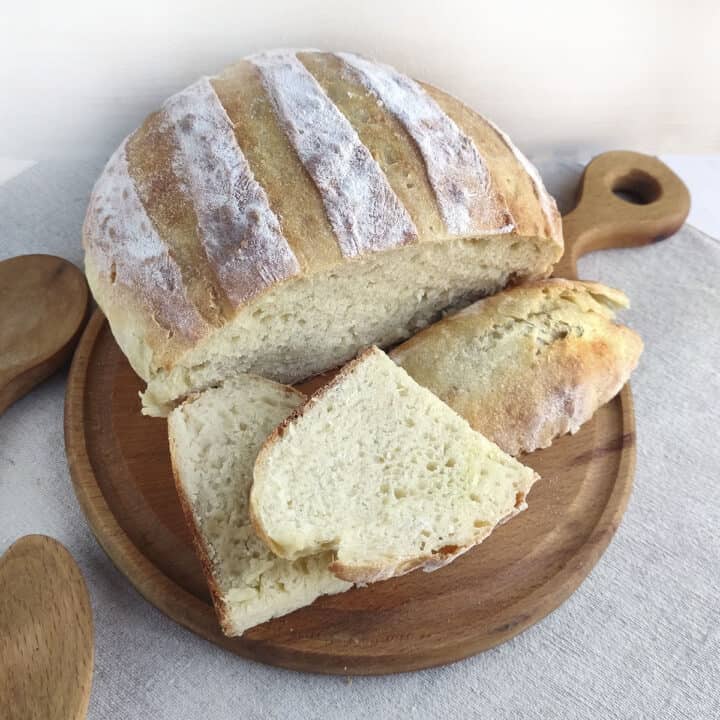
Everyone will think you bought this 3 Ingredient Bread from the bakery because it looks and tastes exactly like you want fresh bread to taste. A crispy crust with a soft yet chewy crumb is what you get with this recipe.
The best part is that it takes less than five minutes of actual working time on your part.
Ingredients Needed
To make this delicious 3 Ingredient bread in the Dutch oven, you will need just three simple ingredients.
Flour: All-purpose flour is totally fine to use in this recipe. I usually have that on hand but you can also use actual bread flour if you prefer. In this article about different flour varieties, you’ll see that bread flour will have a stronger gluten formation than all-purpose, but they both will work. Do not use Cake flour.
Yeast: This is your leavening agent. If you don’t use the yeast, this bread won’t rise.
Salt: Salt helps add flavor to your bread. I usually don’t count salt as an ingredient but I feel salt is imperative to this recipe. Bread will just not taste the same if you omit the salt but if you do, then this is an even easier 2 ingredient bread recipe.
Water: We use very warm water (not boiling) for this recipe because the yeast likes a nice cozy warm place to bloom.

****EAZYTIP: Ingredients like water, salt, pepper, garlic powder, and oil don’t count towards the ingredient list because most people have these basic, common items in the pantry.
How To Make Simple 3 Ingredient Bread
Follow these steps to create your homemade artisan bread:
- Bloom the Yeast
- Mix the Ingredients
- First Rise
- Shape the Dough
- Second Rise
- Preheat the Oven
- Bake
*** EAZYTIP: Please look at the bottom of this post for a printable recipe that has all the exact amounts, and specific instructions along with helpful tips and tricks to make this recipe perfect every time.
Storage and Freezing Your Three Ingredient Bread
To store your artisan bread:
- Fridge: Keep the bread in an airtight bag or container in the fridge for up to one week.
- Freezer: Slice the bread, wrap individual slices in plastic wrap, and place them in a zip-top bag. Freeze for up to three months.
Serving Your Bread
Here are various ways to enjoy your homemade bread:
- Hot: Serve it fresh out of the oven with butter.
- Warm: Reheat slices in the toaster or oven for a warm and crispy texture.
- Sandwiches: Use it to create delicious sandwiches with your favorite fillings.
- Toast with Butter and Preserves: Spread butter and your favorite preserves for a delightful breakfast.
- Toasted with Runny Drippy Eggs: Pair it with eggs for a classic breakfast.
- Leftover Bread: Cut into cubes, season as you prefer and dry it out in the oven for flavorful croutons or leave the cubes unseasoned and make an easy bread pudding.
Questions You Might Have
- Can I use bread flour instead of all-purpose flour?
- Yes, you can use bread flour. Bread flour has a higher protein content, which can result in a chewier texture and better rise. It’s a good choice for a more traditional artisan bread.
- Can I use whole wheat flour?
- Yes, you can use whole wheat flour, but keep in mind that it will produce a denser and heartier bread. You may want to use a blend of 1/4 whole wheat and the rest being all-purpose flour for a balanced result.
- Why is there such a long rise time?
This is because the dough needs the time to develop the gluten. There is no sugar in this recipe to help yeast rise faster. Plus, the slower and longer the rise time, the more flavor it develops. It’s worth the wait! - Can I add mix-ins such as cheddar or herbs?
- Absolutely! Feel free to add your favorite mix-ins to the flour before mixing and shaping. Chopped herbs, grated cheese, or even seeds can add extra flavor and texture. This will require some kneading to incorporate all the mix-ins evenly throughout the loaf.
- Can I use this recipe to make buns or rolls in the same way?
- Yes, you can adapt this recipe to make smaller buns or rolls. Simply shape the dough into individual portions and adjust the baking time accordingly.
- What can I bake this bread in if I don’t have a Dutch oven?
- If you don’t have a Dutch oven, you can use a heavy oven-safe pot with a lid or a baking stone with a steam pan beneath it. These alternatives help create a similar steamy environment for crust development.
Have You Tried This Rustic Homemade 3 Ingredient Bread Recipe?
Have you made this delicious artisan bread at home? I’d love to hear about your experience and how you enjoy using it. Leave your comments below, and don’t forget to leave a star rating on the recipe card below.
Thank you for stopping by Eazy Grub, and we wish you a fantastic day!
Easy 3 Ingredient Bread
Indulge in the simplicity of this 3 Ingredient Bread. With just flour, yeast, and salt, you can create a beautifully crusty, flavorful loaf that's perfect for sandwiches or enjoying warm with your favorite spreads. Impress your family and friends with this easy-to-make, homemade bread.
Ingredients
- 3 cups flour (and more reserved for the board when shaping)
- 1 teaspoons sea salt
- 1/2 tsp. yeast
- 1 ½ cups warm water
Instructions
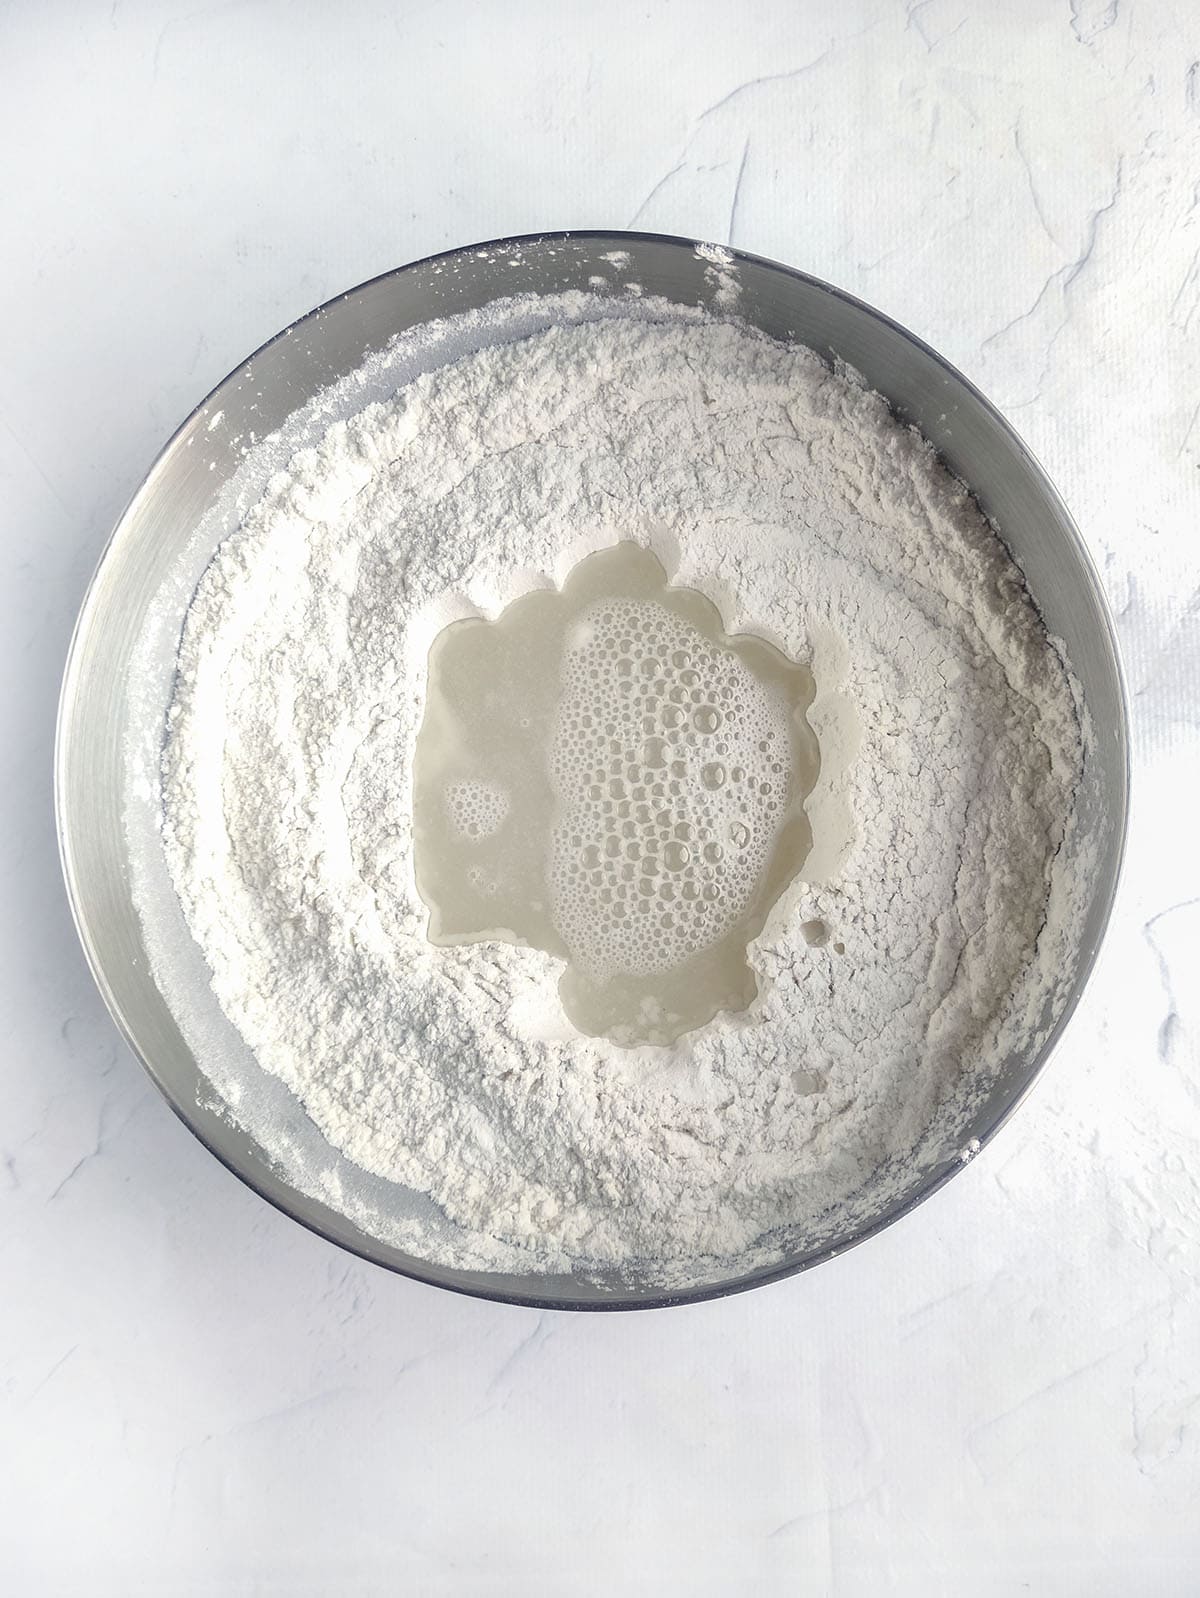
- Bloom the yeast: Add the yeast to the warm water, mix, and let sit for 5 - 10 minutes. You should see a frothy foamy topping on the water to indicate that the yeast is viable and "alive".
- In a large bowl, mix the flour and the salt together so it's well mixed. Mix everything until it comes into a loose "shaggy" looking dough, which just means stringy and not smooth.
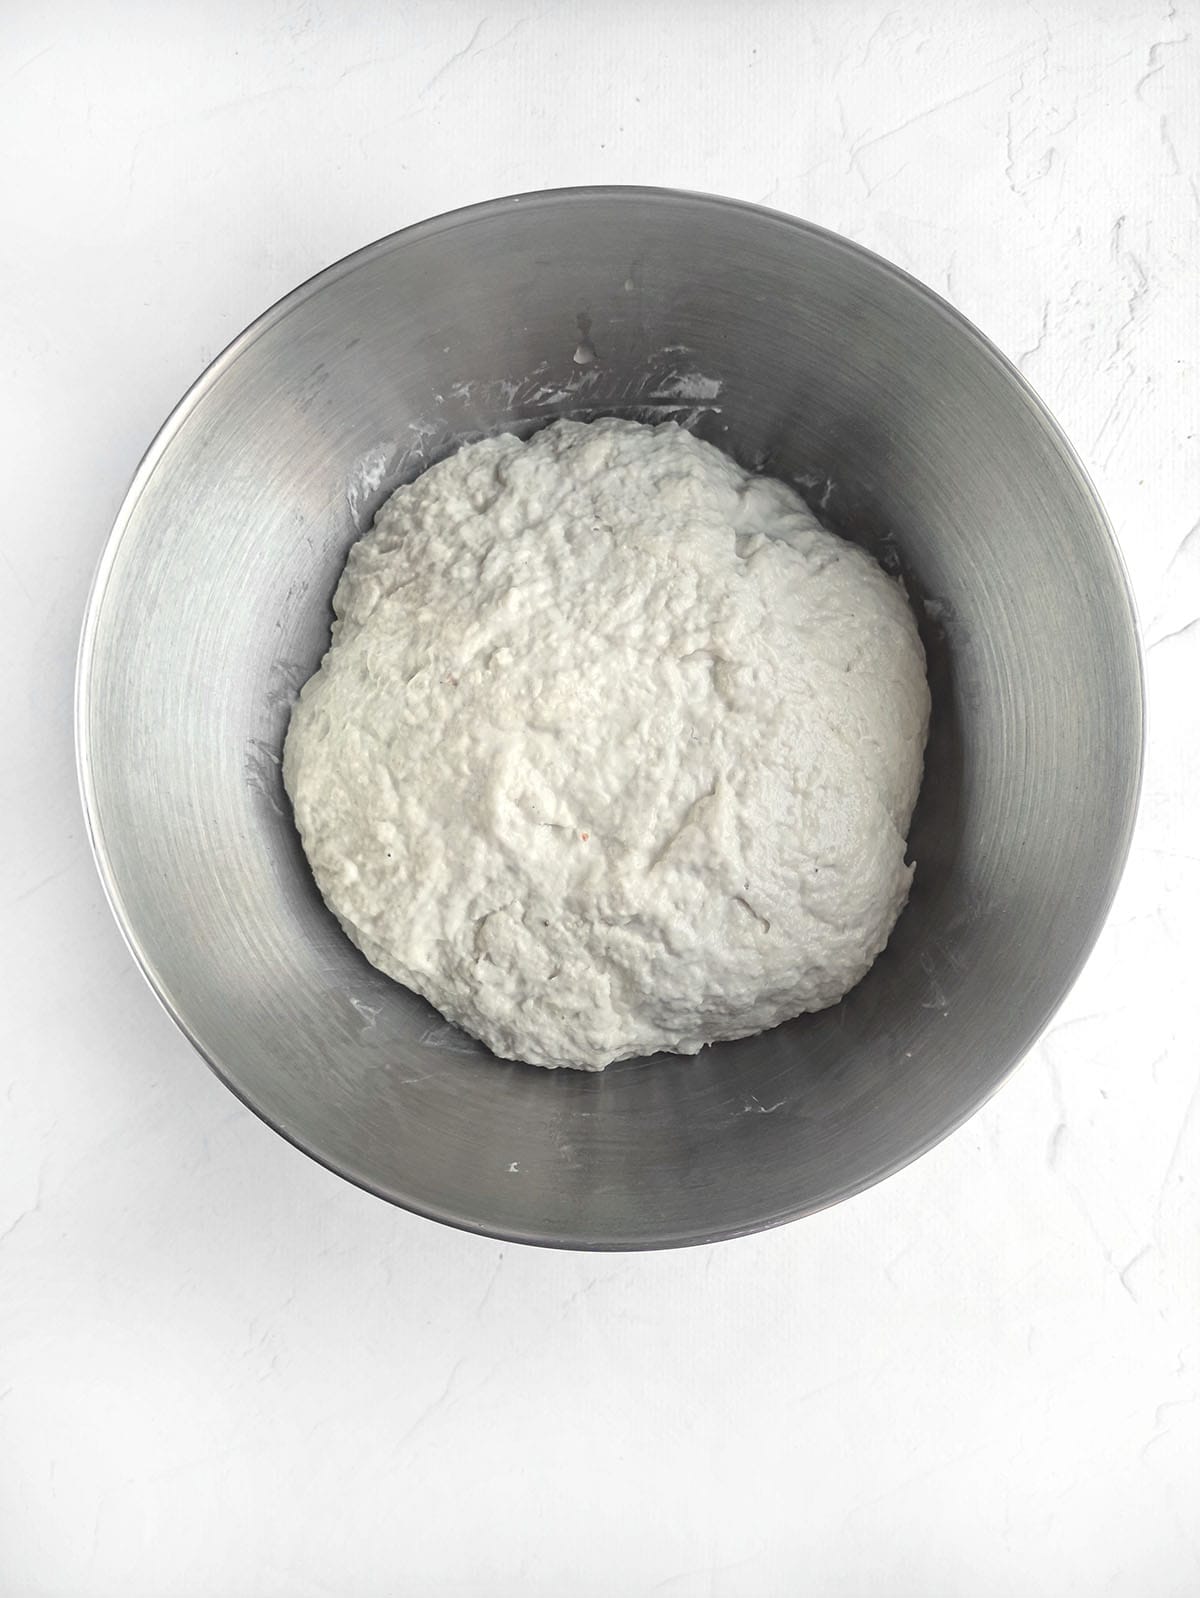
- Rise (proofing) the dough: Cover the bowl with plastic wrap and let the dough rise at room temperature for 8 to 12 hours. (see notes)
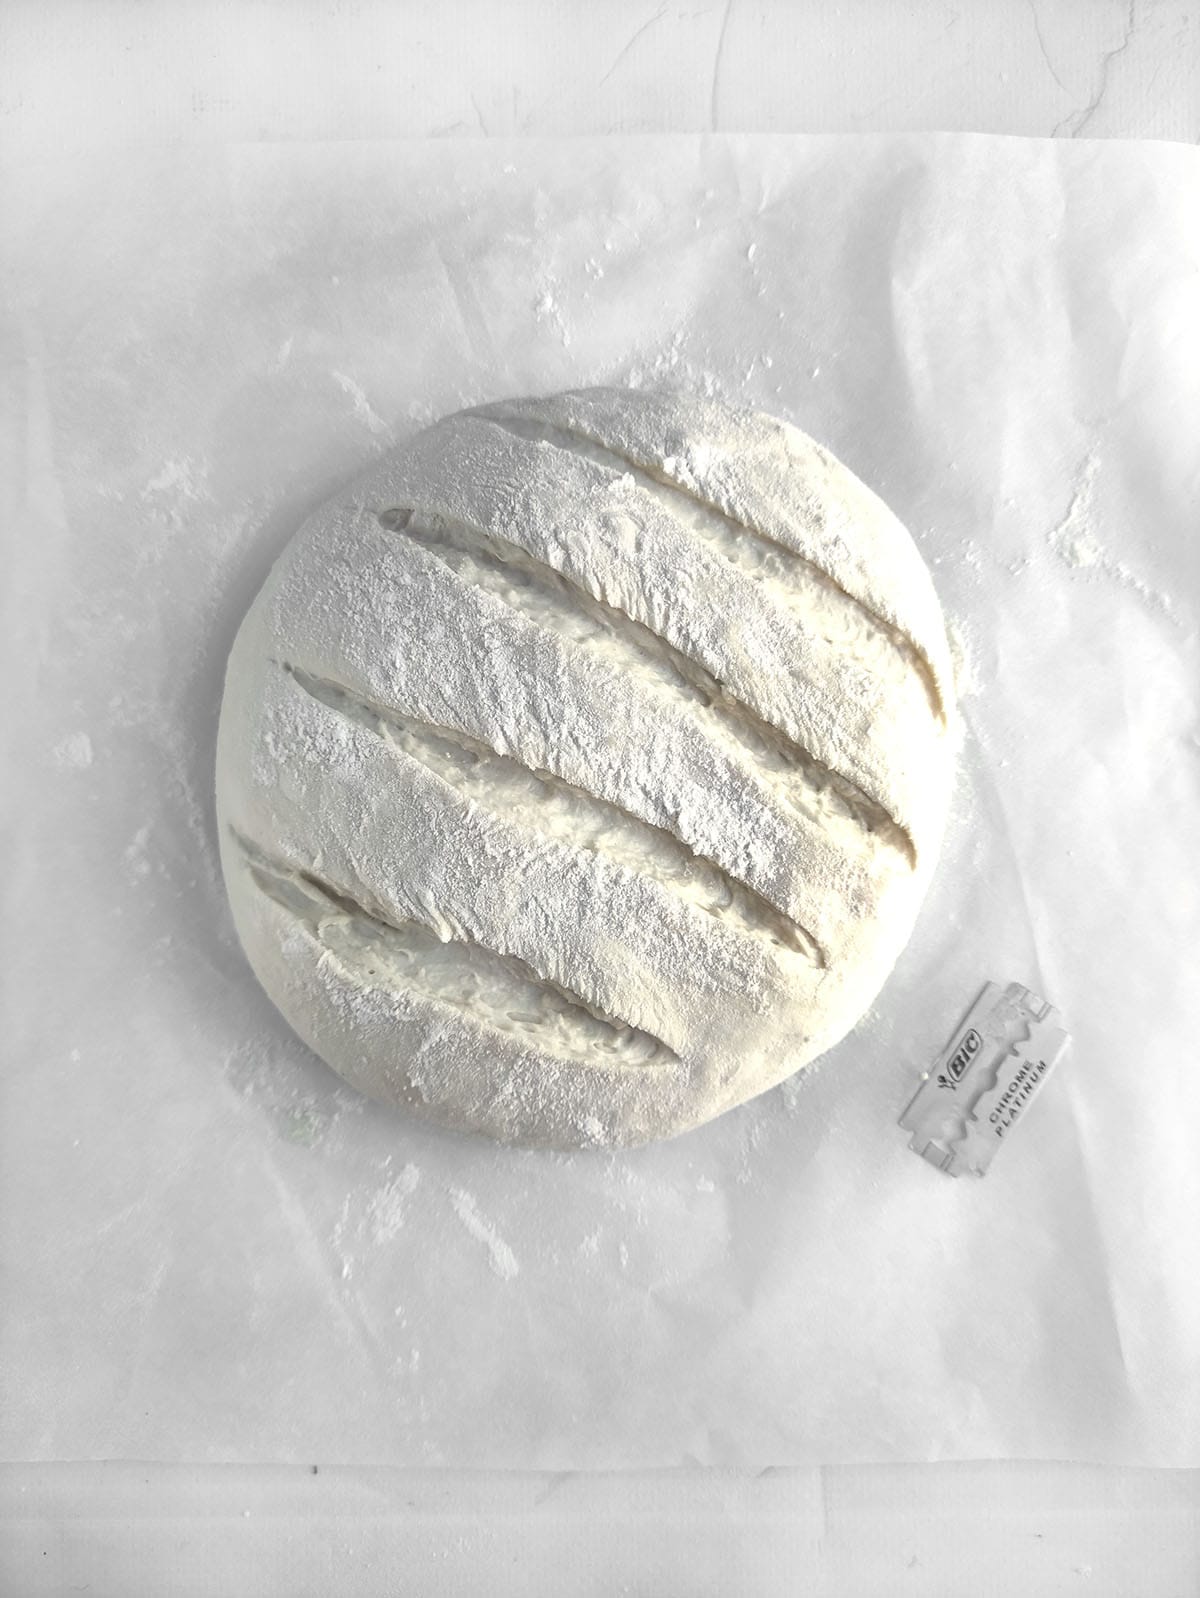
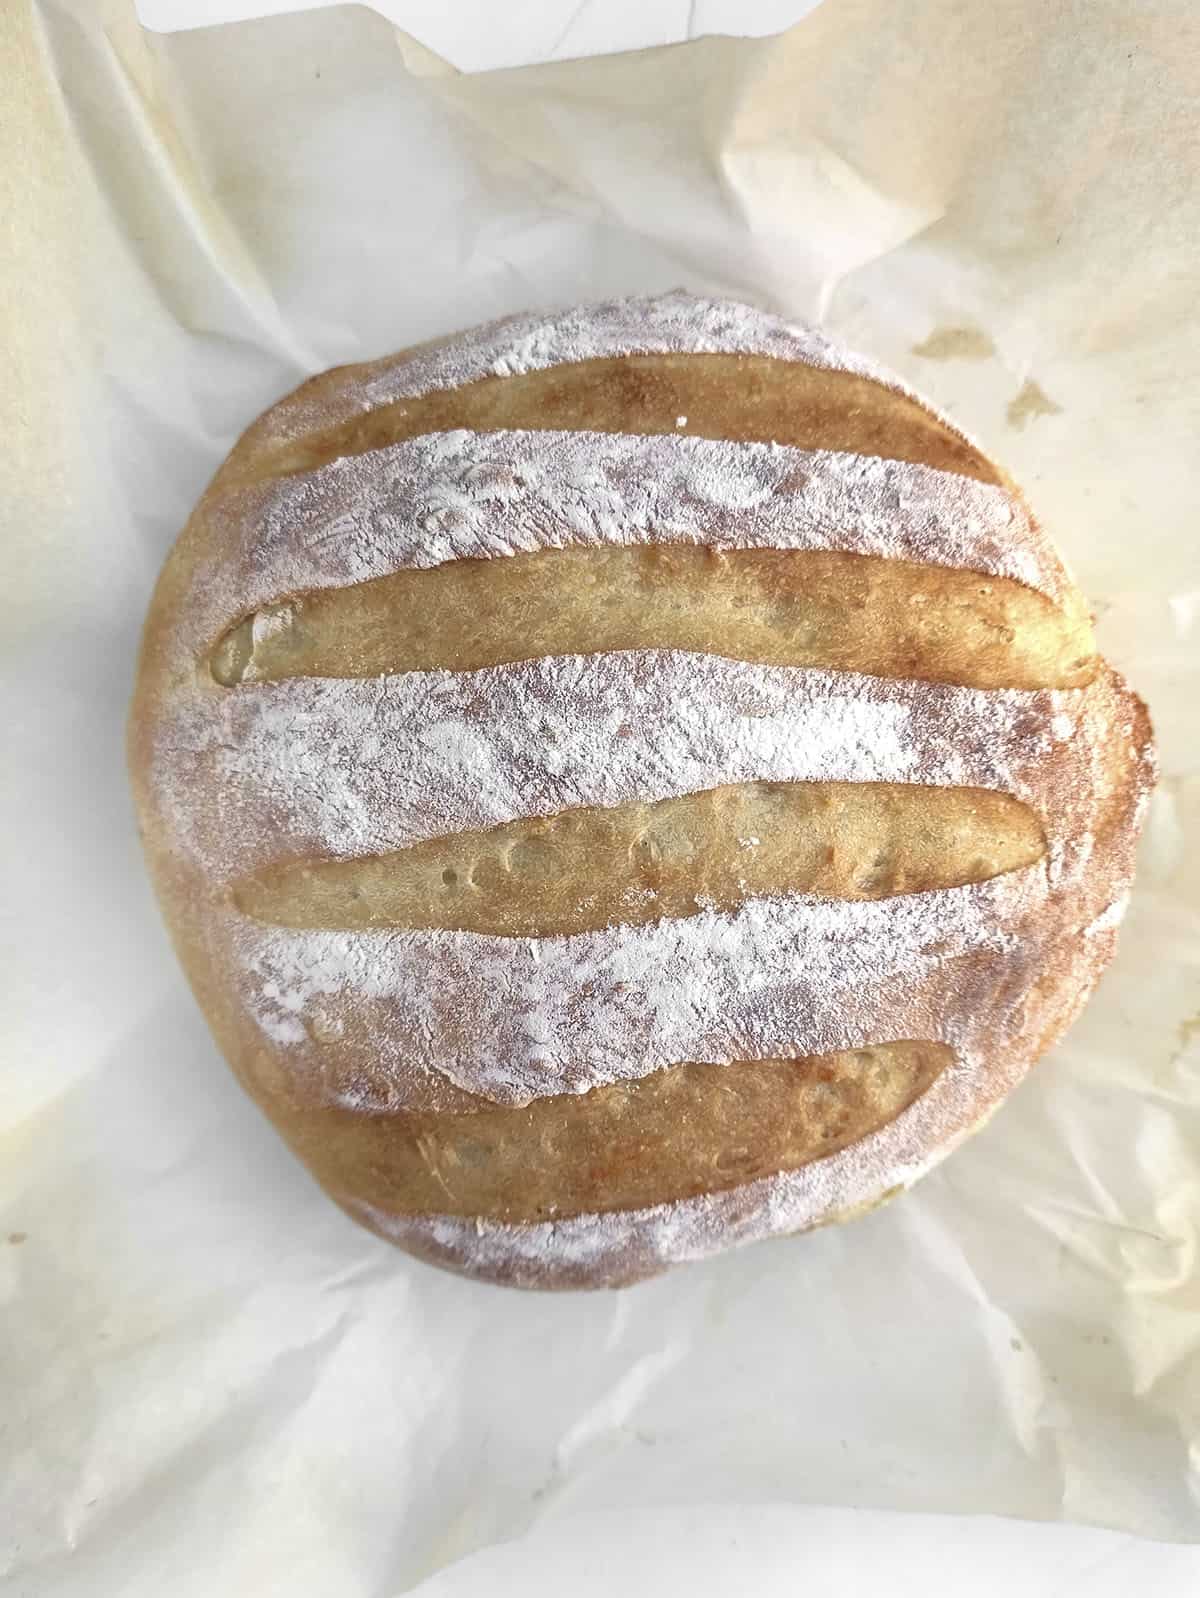
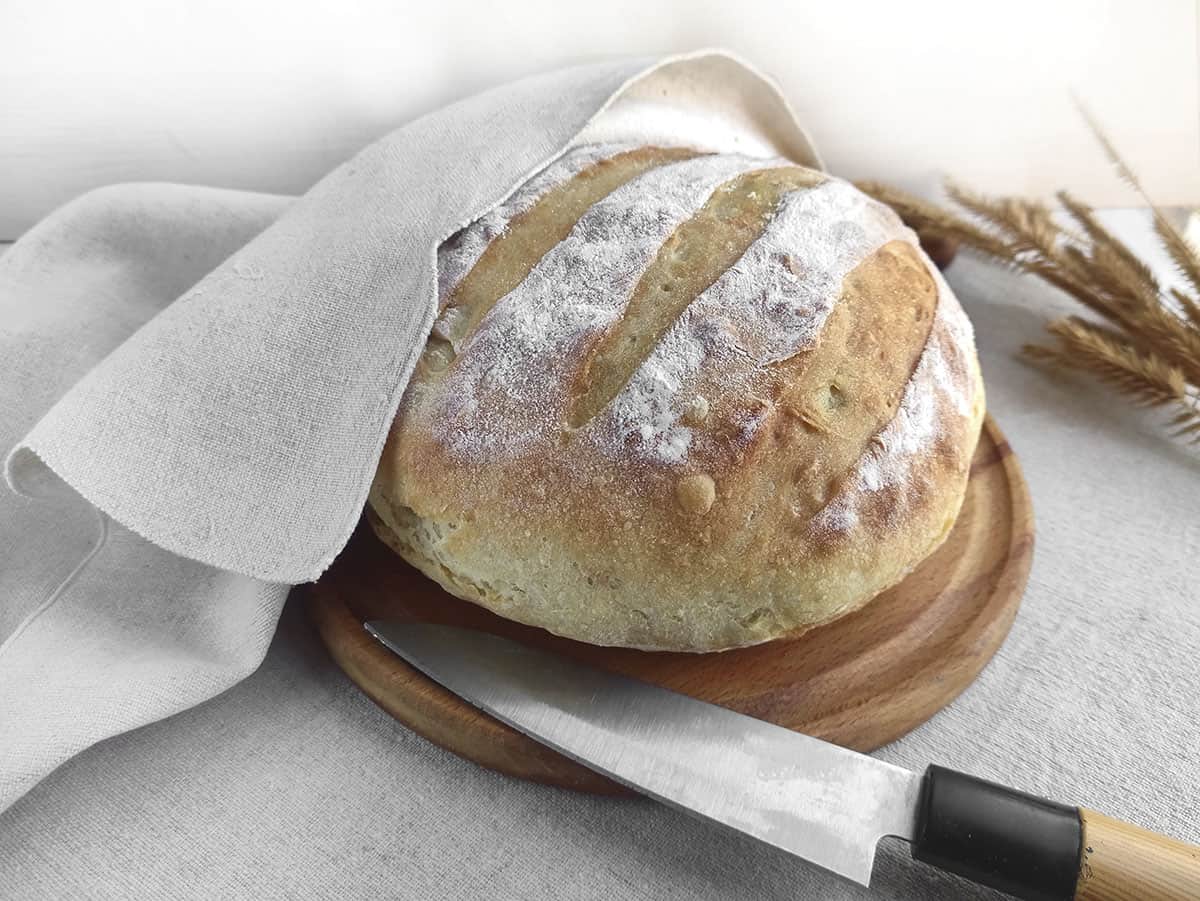
- Shaping the Dough: After the waiting period, turn the dough out onto a floured surface. Gently shape it into a round loaf, tucking any loose ends underneath the dough. Using a very sharp knife (or a razor blade), make three or four light slices into the top of the bread for decoration.
- Second Rise: Place the shaped dough onto a large piece of parchment paper. Cover the loaf with a clean tea towel and let it rest for 30 minutes. (Be SURE you're not using waxed paper. It must be parchment paper.)
- While the dough is rising the second time, preheat your oven to 450°F (230°C) and place a Dutch oven with the lid inside the oven to heat up as well.
- Once the oven and Dutch oven are heated, carefully lift the parchment paper with the dough and place it inside the hot Dutch oven. Be very careful while doing this because everything is very very hot! Add two ice cubes to the Dutch oven on the sides of the dough; this helps create a chewy and crispy crust. Cover the Dutch oven with its lid and bake for 30 minutes. (see notes)
- After 30 minutes, remove the lid of the Dutch oven and continue to bake for 10 - 15 minutes or until golden brown. Watch that it doesn't get too brown at this point.
- Remove from the oven and let cool before removing the bread from the oven.
- Slice when it's completely cool OR just slightly warm. If you cut bread too soon out of the oven, it could squish the bread loaf.
Notes
1. Be sure not to dump the amount of salt in with the water/yeast mixture because the potentially, salt can kill the yeast. When it's mixed with the flour, it's less concentrated and will be friendly to the yeast.
2. I've left this to rise even 18 hours on occasion so don't worry if you can't deal with the dough in exactly 12 hours. The longer the rise, the dough will develop a better flavor because of the slow fermentation process.
3. When putting the lid on the top of the Dutch oven, be mindful to watch the parchment paper that overhangs on the outside. My brand browns quite a bit during the baking time and the paper is made for high heat, but I have had the parchment paper smoke when I was broiling once. I've never had a problem while just baking, even at high heat but I just wanted to make that note.
Nutrition Information
Yield 12 Serving Size 1Amount Per Serving Calories 114Total Fat 0gSaturated Fat 0gTrans Fat 0gUnsaturated Fat 0gCholesterol 0mgSodium 178mgCarbohydrates 24gFiber 1gSugar 0gProtein 3g
All nutritional information is based on third party calculations and is only an estimate. Each recipe and nutritional value will vary depending on the brands used, measuring methods and portion sizes per household.